Your Roborock's side brush is the small, star-shaped brush on the front-right underside — the one that sweeps debris toward the main brush. It wears out faster than any other part on the robot. The good news: replacing it takes about five minutes, one Phillips screwdriver, and a $5–$12 brush. No tools kit, no service call, no app settings to change.
This guide covers when to replace it, how to do it step by step, and which replacement brushes actually fit your model — because Roborock's side brush is nearly universal across every Roborock sold in the last eight years, and knowing that saves you from buying the wrong pack.

30-Second Summary
- Replace every: 3–6 months (sooner if bristles are bent or you have pets)
- Tool needed: Phillips #2 screwdriver (a small one — #1 also works)
- Time: ~5 minutes, zero disassembly
- Cost: $11 official 2-pack, $6–15 aftermarket multi-packs
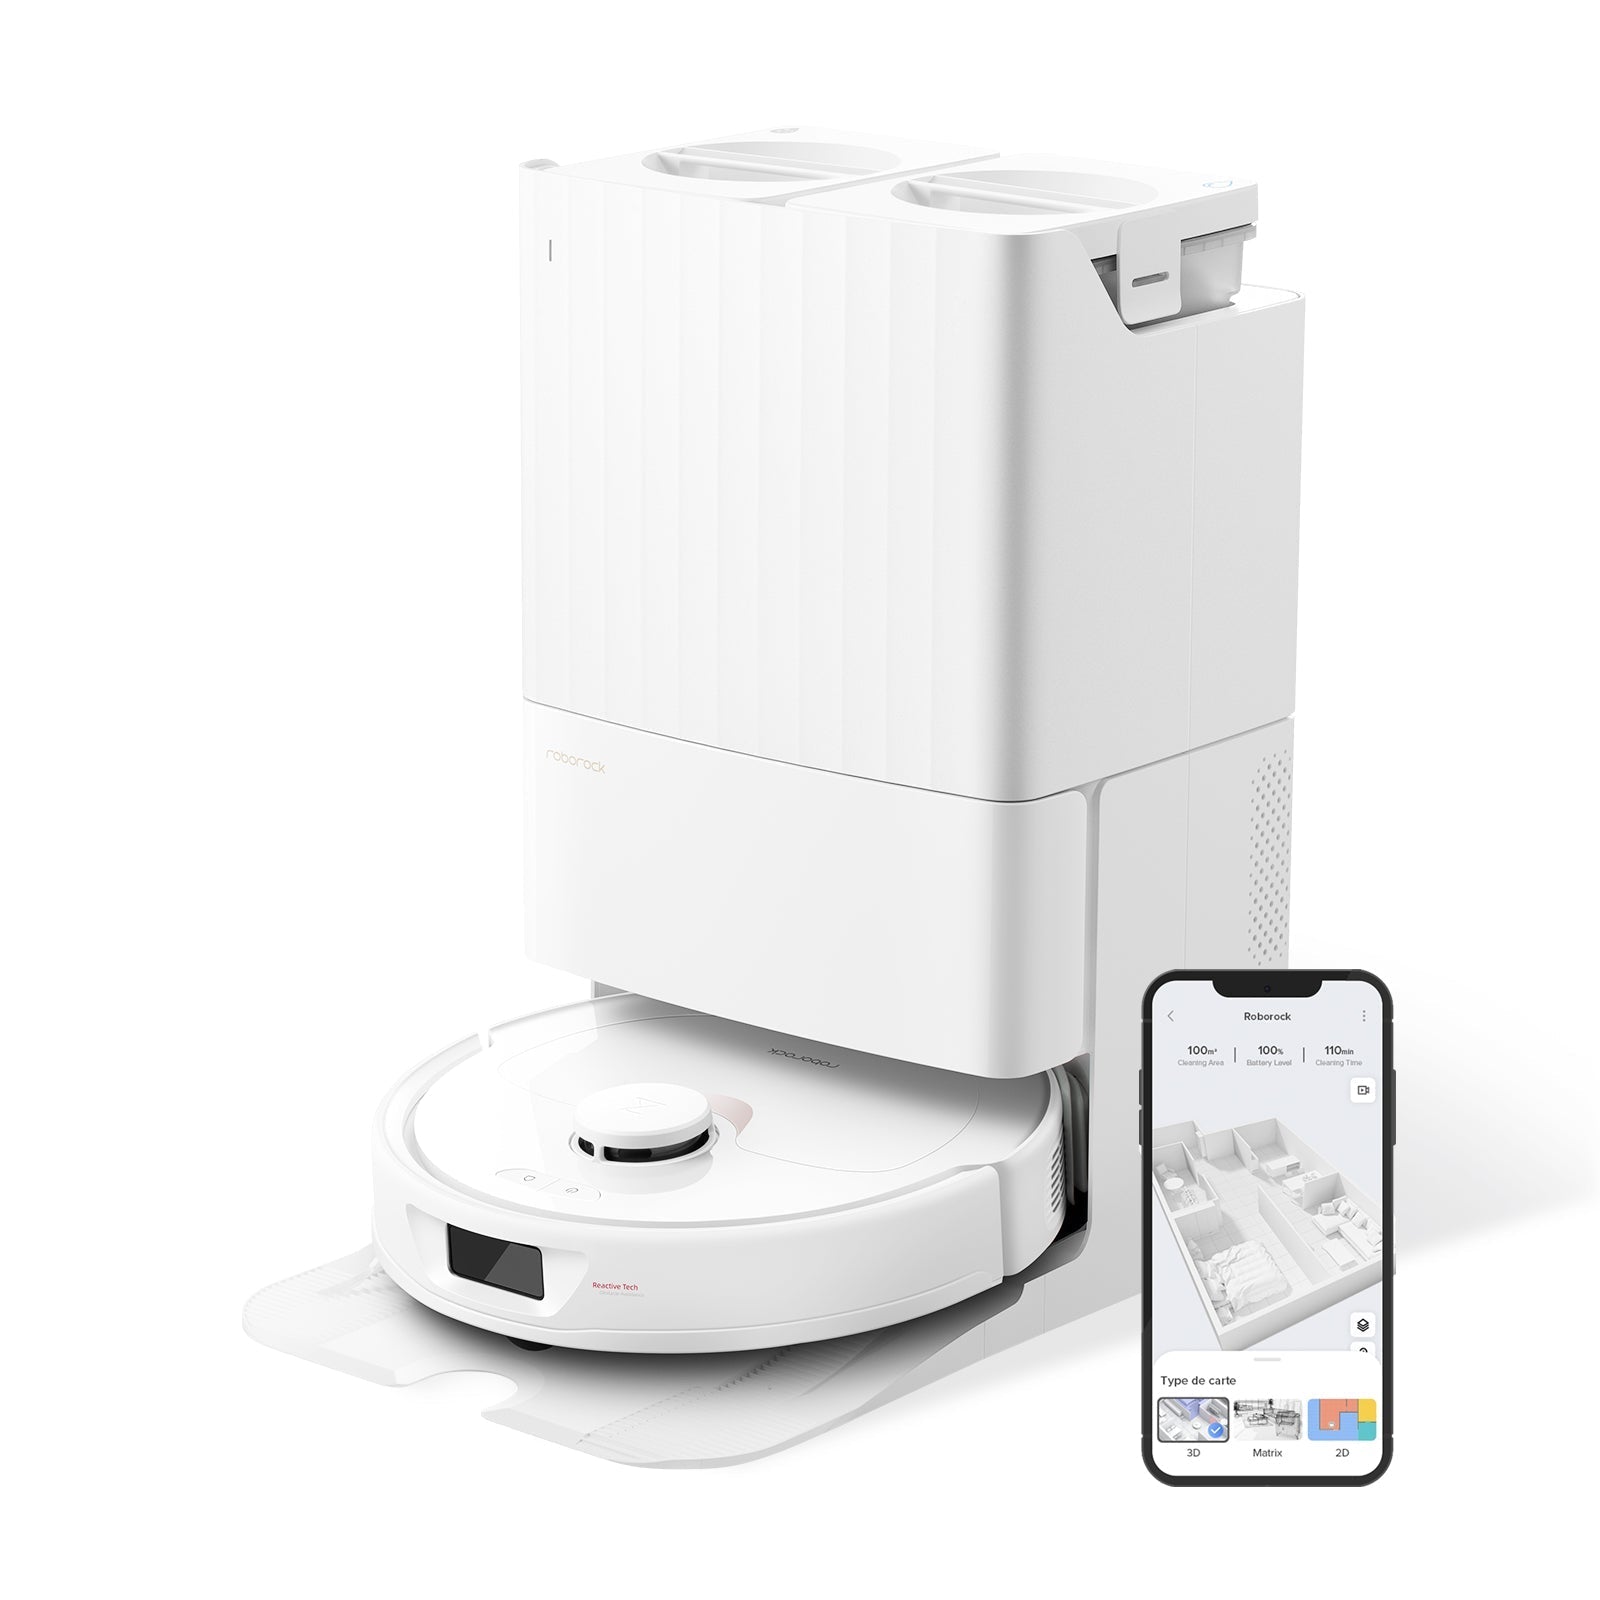
- Fits: Nearly every Roborock — S4/S5/S6/S7/S8 series, Q5/Q7/Q8, Q Revo/Qrevo S/Pro/Master/Plus/Slim, E series
When You Actually Need to Replace It
Roborock's own maintenance schedule says every 3–6 months, but that's a guideline, not a rule. The real signal is how the bristles look. Flip the robot over and check:
- Bent bristles that stay curled even after you've pulled out tangled hair → replace now
- Frayed or splayed tips — the bristles should fan out cleanly, not look like a bad haircut
- One or more arms completely missing (yes, it happens — the brush can snap if it catches furniture legs)
- Edge cleaning has gotten noticeably worse — debris along baseboards keeps getting missed
- Squealing or grinding during operation — usually worn brush plus embedded hair, not motor failure
In a pet-free, single-person apartment, a single-arm silicone brush can last 8–10 months. In a three-pet household with long-hair shedders, you'll be swapping every 2–3 months. Weekly maintenance — pulling out tangled hair and wiping the base — extends life by at least 30%.
Important distinction: a brush that looks fine but doesn't spin is not a worn-out brush. That's usually gunk jammed under the brush housing or a failing motor. See our Roborock brush not spinning fix guide before you assume you need a new brush.
What You Need to Buy
Every modern Roborock uses essentially the same side brush: a three-arm or five-arm design with a hexagonal center mount, held by one captive Phillips screw. There are only two things to get right:
1. Arm style (3-arm vs 5-arm): Roborock shipped both. The five-arm silicone version is newer and what comes stock on Qrevo-series and S8-series robots. Three-arm nylon versions shipped with older S4/S5/S6 and E-series units. Both slots are identical — you can physically use a three-arm brush on a Qrevo or a five-arm on an S5, and it will work. Silicone five-arm is quieter, lasts longer, and doesn't scuff baseboards; nylon three-arm is cheaper and some owners feel it moves pet hair slightly better on low-pile carpet.
2. Color: Roborock's official brushes come in black or white to match the dock. Aftermarket packs are usually black. Purely cosmetic.
Price breakdown (April 2026)
| Source | Pack | Price | Per Brush |
|---|---|---|---|
| Roborock official store | 2-pack (black or white) | ~$11 (down from $15.99 MSRP) | ~$5.50 |
| Roborock on Amazon | 2-pack | ~$10–13 | ~$5.50 |
| Aftermarket (Neutop, Soniicmomo, Livvi) | 4–9 pack | ~$9–18 | ~$1.50–$4 |
OEM brushes typically cost 2–3× more per unit than aftermarket. Reddit owners who've tested both report that decent aftermarket silicone brushes (silicone, not flimsy nylon) perform identically for the first six months, which is the entire useful life of the brush anyway. The one aftermarket risk: occasional packs with soft nylon that bends permanently after two weeks. If you see one-star reviews mentioning "bristles bent right out of the box," avoid that brand.
How to Replace It: Step by Step
You'll need:
- Phillips #2 screwdriver (a small to medium head — a #1 also fits the screw; I've used both)
- A flat surface, ideally a table with a towel so you don't scratch the top of the robot
- The new brush, out of its packaging
Time: About 5 minutes if you've never done it before, under 2 once you have.
Step 1: Power off and flip the robot
Hit the power button on top (hold 3 seconds on most models) until the indicator light goes off. Carry the robot to a table, flip it upside-down, and rest it on a folded towel or soft cloth. The lid and sensors on top are the parts you want to protect.
Step 2: Clear tangled hair first
Before you unscrew anything, grab any obvious hair tangled around the side brush and pull it out. This matters — if you unscrew with hair wrapped tight around the hex stud, the whole assembly can yank up and bend the mounting post.
Step 3: Unscrew the single Phillips screw
The screw is in the exact center of the side brush, sitting in a small recessed well. It's captive — meaning it stays attached to the brush after you loosen it, so you don't have to worry about losing a tiny screw on your kitchen floor. Turn counter-clockwise for 4–5 full rotations until it spins freely.
Step 4: Lift the old brush straight up
Pull the brush straight up and away from the robot. You should feel it release cleanly off the hexagonal drive stud. If it resists, there's still hair wrapped underneath — don't force it, just cut the hair with small scissors and try again.
Step 5: Seat the new brush on the hex stud
This is the only step people get wrong. The center hole in the brush is hexagonal, and it has to line up with the hexagonal drive stud on the robot. Drop the brush onto the stud and gently rotate it until you feel it drop down an extra millimeter — that's it clicking into place. If it's sitting high, the screw won't engage and the brush will wobble or not spin.
Step 6: Tighten the screw
Re-tighten the captive Phillips screw. Snug is enough — don't gorilla-grip it or you'll strip the threads. Give the brush a gentle spin with your finger; it should rotate freely and not rock side to side.
Step 7: Flip, power on, test
Flip the robot right-side up, power on, and send it out for a spot clean in any room with hard floor near a wall. Watch the side brush spin. If it's spinning fast and clean, you're done.
Common Mistakes to Avoid
- Stripping the screw. Use a proper-size Phillips, not a flathead or worn-out tip. The screw head is soft-ish zinc; it strips in one over-tightened turn.
- Not seating on the hex stud. Half the "new brush doesn't spin" posts on the Roborock forum are people who dropped the brush on and re-screwed without pressing it down onto the hex. Easy fix — remove, re-seat, re-tighten.
- Forgetting to pull tangled hair before unscrewing. You can yank the drive stud up and bend it, which is a much harder repair than replacing a brush.
- Installing a brush wet. If you just washed the old brush area, let it dry fully. Moisture around the motor shaft leads to premature motor failure.
- Buying "compatible with Xiaomi Mi Robot" packs and assuming they fit Roborock. Xiaomi Mi Robot 1st gen and Mijia brushes look similar but have a different mount. Read the listing carefully for the exact series.
Does One Side Brush Really Fit Every Roborock?
Almost. Here's the exact compatibility as of April 2026:
| Series | Compatible? | Notes |
|---|---|---|
| Q Revo, Qrevo S, Qrevo Pro, Qrevo Master, Qrevo Plus, Qrevo Slim, Qrevo Curv | ✅ | Standard mount |
| Q5, Q5 Pro, Q7, Q7 Max, Q8 Max | ✅ | Standard mount |
| S4, S5, S5 Max, S6, S6 MaxV, S6 Pure | ✅ | Original three-arm era, five-arm also fits |
| S7, S7 MaxV, S7 Max Ultra, S7 Pro Ultra | ✅ | Standard mount |
| S8, S8+, S8 Pro Ultra, S8 MaxV Ultra | ✅ | Standard mount |
| Saros 10, Saros 10R, Saros 20 | ✅ | Standard mount |
| E2, E3, E4, E5, E20, E25, E35 | ✅ | Older budget line |
| Roborock H6/H7 cordless stick vacuums | ❌ | Different product, no side brush |
The only time compatibility breaks is with first-generation Xiaomi Mi Robot (pre-2017, before the Roborock brand spin-off). Those used a different mount. If your robot was bought after 2018 and says "Roborock" on top, you're fine.
OEM vs Aftermarket: What We'd Actually Buy
For a primary-residence robot you run daily, a five-arm silicone aftermarket multi-pack is the best value. You're paying for bristle quality, not the Roborock logo. A $15 four-pack of decent silicone brushes outlasts two $11 OEM two-packs at the same price.
For an elderly or very expensive robot (Saros 20, S8 MaxV Ultra), the small premium for official Roborock brushes is worth it — not because they're dramatically better, but because you eliminate any fit tolerance issues that might stress the motor mount on a $1,500+ machine.
A well-rated aftermarket silicone pack is a safe buy; a no-name $4 eight-pack of nylon brushes is not. If you have pets, pay the extra $5 for silicone — the nylon ones will be curled and useless in six weeks.
Related Maintenance
While the robot is flipped, take two minutes and do the rest of the underside:
- Check the main brush — pull hair out with the included tool, check for wear. Main brushes last about 6–12 months. Our Roborock replacement parts guide covers the full maintenance schedule.
- Wipe the sensors — cliff sensors on the bottom corners, wall sensor on the side. Dust here is behind half of "my robot keeps bumping walls" complaints.
- Empty and rinse the dustbin — a dusty filter kills suction before the brush does.
- Check the filter — replace every 3–6 months alongside the side brush.
Doing all four together, once a quarter, takes ten minutes and adds years to the robot's life.
Frequently Asked Questions
How often should I replace my Roborock side brush?
Every 3–6 months under normal use, or sooner if you have pets that shed heavily. The real test is visual: if the bristles are permanently bent, splayed, or have lost arms, replace immediately. A brush in good cosmetic condition is still doing its job even at month 8, so don't replace on a calendar alone.
Are all Roborock side brushes the same?
Physically, yes — across every Roborock sold since 2018 (from the E2 up through the Saros 20), the side brush uses the same hex-mount + single-screw design. Differences are cosmetic (black vs white) and material (three-arm nylon vs five-arm silicone). Any current-generation brush fits any current robot.
Can I use aftermarket side brushes?
Yes, and most owners do after the first OEM replacement. Stick to silicone five-arm designs from brands with 4+ star Amazon ratings and at least a few hundred reviews. Aftermarket brushes typically cost one-third to one-half as much as OEM and last just as long if the silicone is good quality. The bad ones use soft nylon that bends permanently after a week — avoid any pack priced under $1 per brush.
What screwdriver do I need?
A Phillips #2 works for most models; a Phillips #1 also fits the recessed screw head on S4/S5/S6-era robots. Don't use a flathead — you'll strip the screw. A standard household multi-bit driver has exactly what you need.
My new side brush won't spin — what do I do?
First, verify it's seated on the hex stud. Unscrew, lift the brush, drop it straight back down, and gently rotate until it clicks down an extra millimeter onto the hex. Re-tighten. If it still won't spin, clear any hair wrapped around the drive shaft under the brush. If that fails, the side brush motor itself has died — that's a different repair (usually $15–25 for a motor module). See our Roborock side brush not spinning troubleshooting guide for the full diagnostic tree.