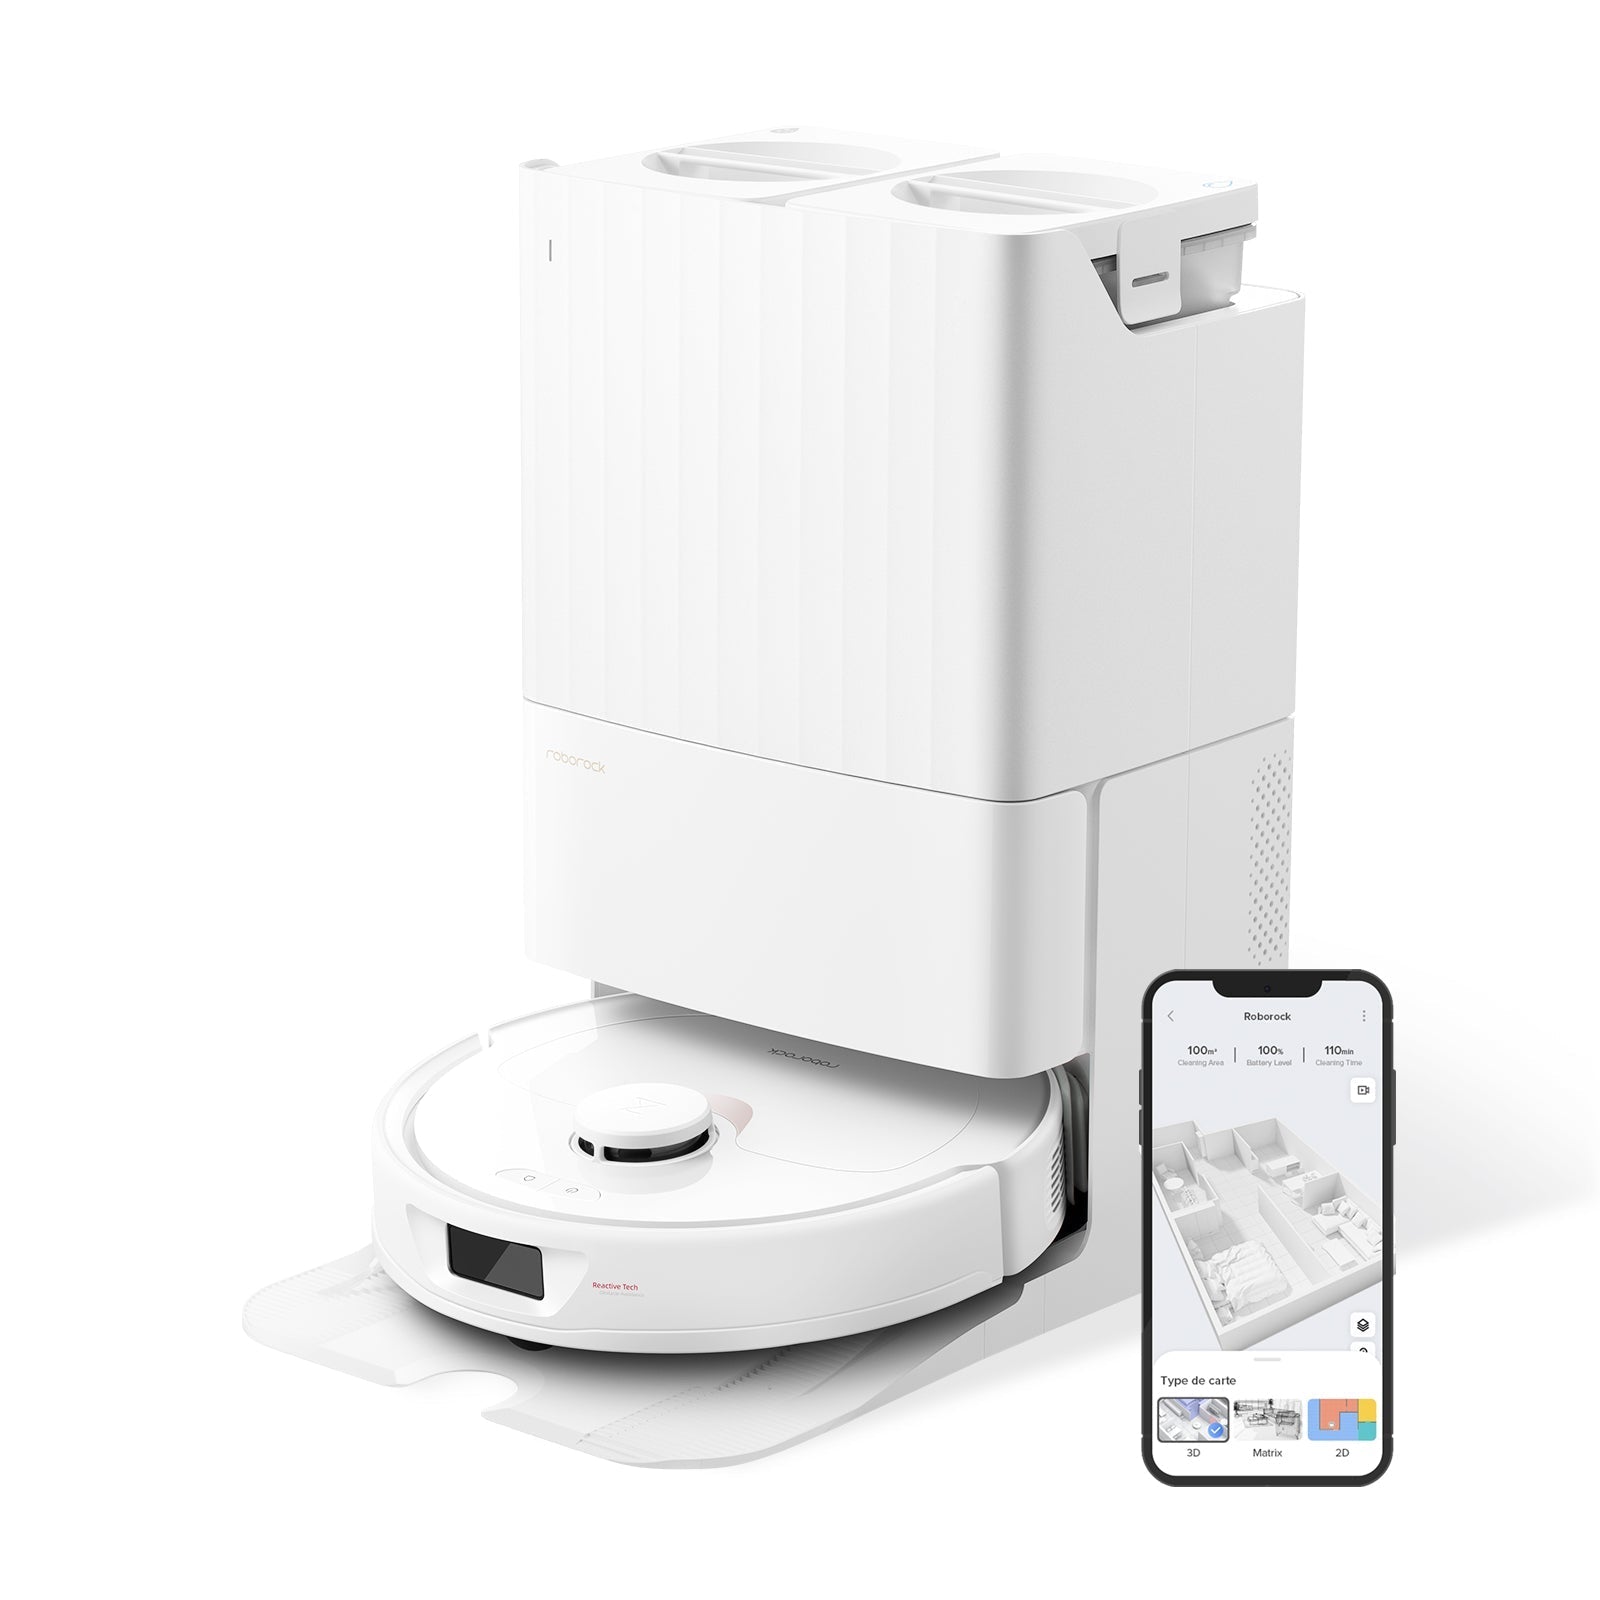
If your Roborock is bumping into furniture, spinning in circles, or throwing an "Error 4" after a mop run, the fix is almost always the same — dirty sensors. Roborock packs six different sensor types onto every modern unit, and most of them live on surfaces that pick up dust, pet hair, mop spray, and kitchen grease within a few weeks of normal use. Wiping them down takes three minutes. Skipping it is how a $1,000 robot starts behaving like a $100 one.
This guide covers every sensor on your Roborock (from the entry‑level Q5 up to the flagship Saros 20), what each one does, exactly how to clean it without damaging anything, and how often. It also covers the two mistakes that brick sensors permanently — don't skip that part.
30-Second Summary
- Tools: dry microfiber cloth, cotton swab, 70% isopropyl alcohol (optional, for cliff sensors only)
- Time needed: 3–5 minutes
- Frequency: cliff sensors weekly, LiDAR and wall sensor every 2 weeks, everything else monthly
- Never use: water, paper towels, window cleaner, abrasive sponges, or compressed air at close range
- After cleaning: let cliff sensors air‑dry 10 minutes before running the robot (official Roborock instruction for Error 4)
Why Dirty Sensors Cause Real Problems
Roborock sensors are optical. They send out infrared or laser beams and read what bounces back. A layer of dust or a smear of mop water doesn't block the beam — it scatters it, which is worse. The robot now reads phantom edges, ghost walls, or drops that aren't there.
On Roborock's official support page, the recommended first fix for cliff sensor errors (Error 4) is literally "wipe the cliff sensors and make sure the robot cleaner is not on dark or shag carpet." Rough thresholds, dark rugs, and residue from mopping all reflect less IR light back to the sensors, triggering false alerts. In real‑world use, we've seen owners write off "buggy" units that were 100% fixed by a two‑minute wipe.
If you're seeing any of this, it's almost certainly sensor dirt, not a hardware fault:
- Robot stops mid‑run and reports "cliff detected" on a flat floor
- It circles the same spot or backs up repeatedly for no reason — see our Roborock going in circles fix
- Maps look glitchy, with walls drawn where there aren't any (more in our mapping issues guide)
- The robot can't find its dock, which usually means the charging contacts or dock IR window are dirty — see Roborock not returning to dock
- It keeps getting confused on carpet edges (stuck on carpet fix)
Every Sensor on Your Roborock (And Where It Lives)
Modern Roborocks have up to six sensor systems. Not every model has all of them — AI cameras are only on MaxV, Saros, and Qrevo Curv tiers, for example — but the rest are universal from Q5 upward.
| Sensor | Location | Job | Dirty symptom |
|---|---|---|---|
| LiDAR (LDS) turret | Spinning tower on top | Builds the map, measures distance to walls | Mapping errors, slow coverage |
| Cliff sensors (4) | Bottom corners, underside | Detect stairs and drops | Error 4, false "cliff" stops |
| Wall/edge sensor | Right side, near front | Keeps consistent edge‑cleaning distance | Bumps walls, misses edges |
| Bumper sensors | Front edge (physical switch) | Signals contact with objects | Gets stuck, keeps hitting walls |
| Charging contacts | Back underside + dock | Power transfer | Won't charge after docking |
| Docking IR window | Front of robot + dock transmitter | Guides robot home | Can't find dock |
| AI camera (MaxV / Saros / Qrevo Curv) | Front, small lens | Obstacle recognition | Misses pet waste, hits shoes |
The cliff sensors are the ones that cause the most issues. They're four small black rectangles on the bottom — easy to miss because they sit flush with the plastic.
What You Need
- Dry microfiber cloth — not paper towels (they shed fibers and can scratch lenses)
- Cotton swabs (Q‑tips) — for tight corners around the LiDAR and charging contacts
- 70% isopropyl alcohol — optional, for stubborn cliff sensor residue only. Dampen the cloth, never pour directly
- Compressed air — optional, held at least 6 inches away for LiDAR turret dust
Do not use: water, glass cleaner, multi‑surface spray, paper towels, the rough side of a sponge, melamine ("Magic Eraser") on sensor lenses, or any solvent stronger than isopropyl alcohol. Any of these can permanently fog the optical coating.
Step‑by‑Step: Cleaning Each Sensor
Before you start: power the robot off using the physical power button (not just the app). This prevents it from rolling while you're working on it and avoids accidentally triggering the lift mechanism on Qrevo and Saros units.
1. LiDAR Turret (Top)
The spinning tower on top is the robot's primary eye. Dust on the clear plastic window is the #1 cause of slow, incomplete maps.
- Locate the small gap where the turret meets the top cover. Gently rotate the top of the turret by hand — it should spin freely
- Wipe the outer plastic window with a dry microfiber cloth in one direction, not circular motions
- If dust is packed in the seam, use compressed air held 6 inches away in short bursts
- Do not press down on the turret. The motor inside is fragile
Frequency: every 2 weeks, or sooner if maps start looking incomplete.
2. Cliff Sensors (Bottom Corners)
These are the four most important sensors for daily reliability. They're also the dirtiest — they live 1 cm off the floor, directly above whatever the robot is rolling through.
- Flip the robot upside down onto a soft towel
- Find four small black rectangular windows, one near each corner of the underside
- Wipe each one with a dry microfiber cloth first
- If residue remains (common after mopping), dampen a corner of the cloth with isopropyl alcohol and wipe again
- Let them air‑dry for 10 minutes before turning the robot on — this is Roborock's official instruction for Error 4. Running the robot on damp sensors can trigger the same error you were trying to fix
Frequency: every week for hybrid vacuum‑mop models, every 2 weeks for vacuum‑only. Bump it to twice a week if you have pets or mop daily.
3. Wall/Edge Sensor (Side)
This is a small black or dark‑red window on the right side of the robot, just behind the bumper. It's what tells the robot "the wall is 2 cm away, stay parallel."
- Wipe the side window with a dry microfiber cloth
- Use a cotton swab for the tiny recessed area around the sensor — dust collects there
- No alcohol needed unless you see sticky residue
Frequency: every 2 weeks.
4. Bumper Sensors (Front)
The front bumper is a physical switch system. It doesn't have a lens to clean, but it does have hinges that get gunked up with hair and dust, which stops it from depressing properly.
- Gently press the bumper in — it should move about 3–5 mm with slight resistance and spring back immediately
- If it feels sticky or doesn't fully return, run a dry microfiber cloth along the seam between the bumper and the body
- Use a cotton swab to clear any hair tangled in the side hinges
Frequency: monthly.
5. Charging Contacts (Back Underside + Dock)
Two metal strips on the underside of the robot touch matching strips on the dock. Dust, oxidation, or sticky floor residue will prevent charging even though the robot "docks" correctly.
- Wipe both the robot's strips and the dock's strips with a dry microfiber cloth
- If you see any dark film or oxidation, use a cotton swab dipped in isopropyl alcohol
- Do not use sandpaper or metal tools — the contacts have a thin protective coating
Frequency: monthly, or anytime you see a "not charging" alert.
6. Docking IR Window (Front)
A small translucent strip on the front of the robot and a matching transmitter on the dock. If this fogs up or gets covered in lint, the robot will drive past its dock or spin in front of it.
- Wipe both windows with a dry microfiber cloth
- Make sure nothing is blocking the dock's IR transmitter — a stray cable or a rug flap is enough
Frequency: every 2 weeks.
7. AI Camera (MaxV, Saros, Qrevo Curv Only)
Flagship units have a small RGB camera on the front for obstacle recognition. It's the one thing on the robot you should clean the least aggressively — the coating scratches easily.
- Use only a dry microfiber cloth, no alcohol, no pressure
- Blow off loose dust first with a single puff of breath or compressed air at arm's length
- Wipe in one direction
Frequency: monthly. If the camera is dirty, the robot starts running into things it used to avoid — pet bowls, shoes, cables.
How Often: The Real Schedule
The official Roborock guidance is "weekly," but that's a blanket recommendation. Here's what actually makes sense based on household type:
| Household | Cliff | LiDAR | Wall / Bumper | Contacts / Camera |
|---|---|---|---|---|
| Small apartment, no pets | Every 2 weeks | Monthly | Monthly | Every 2 months |
| Average home with kids | Weekly | Every 2 weeks | Monthly | Monthly |
| Pet household (cats/dogs) | Twice a week | Weekly | Every 2 weeks | Monthly |
| Daily mop use | Twice a week | Every 2 weeks | Monthly | Monthly |
Pet hair and mop residue are the two accelerators. If you're mopping daily and have a shedding dog, treat sensor cleaning as a weekend chore — it will pay for itself in avoided Error 4 interruptions.
For the rest of the monthly maintenance (dustbin, filter, brushes), pair this with our how to clean Roborock dustbin guide.
5 Mistakes That Permanently Damage Sensors
- Spraying anything directly on the robot. Window cleaner and multi‑surface spray leave a residue film that scrambles the IR reading. Always apply cleaner to the cloth first
- Using paper towels on the LiDAR or camera. Paper fibers embed in the optical coating and you'll never fully get them out. Microfiber only
- Pressing hard on the turret. The LiDAR motor is a precision component. If you feel any resistance beyond the normal spinning friction, stop
- Cleaning with the robot still on. Beyond the obvious safety issue, the cliff sensors emit IR continuously when powered — wiping a live sensor can trigger false readings that confuse the map
- Running the robot on wet cliff sensors. Even isopropyl alcohol needs 10 minutes to flash off. Damp sensors misread flat floors as cliffs, and you'll spend the next hour wondering why the robot won't move
When Cleaning Doesn't Fix It
If you've done all of the above and the robot still reports Error 4, maps incorrectly, or won't dock, the hardware itself is failing. Before calling support, try these in order:
- Firmware update — some sensor calibration bugs are patched in firmware. See our Roborock firmware update guide
- Factory reset the mapping — in the app, clear saved maps and let the robot rebuild from scratch. This rules out software corruption
- Swap the dock position — a wobbly dock on uneven floor will cause docking failures that look like sensor errors
- Contact Roborock support — if the unit is under warranty (1 year in the US), cliff sensor replacement is free. Outside warranty, iFixit has guides for DIY replacement, but the parts are $15–40 and require opening the shell
Cliff sensor failures more than 18 months into ownership are usually a replacement job, not a cleaning job.
The Bottom Line
Sensor cleaning is the single most high‑leverage maintenance task on a robot vacuum. A 3‑minute wipe fixes more "broken" robots than any app setting, firmware update, or factory reset. If you only remember one thing: clean the four cliff sensors weekly, and let them dry for 10 minutes before running the robot. That one habit will save you 80% of the Error 4 frustration owners report.
Everything else — LiDAR, wall sensor, bumpers, contacts, camera — gets easier from there. Build it into a monthly routine alongside emptying the dustbin and washing the mop pads, and your Roborock will behave like new for years.
All our maintenance recommendations are grounded in how we test robot vacuums through long‑term, real‑home use.
Frequently Asked Questions
Where are the sensors on a Roborock?
Roborocks have sensors in four main places. The LiDAR turret is the spinning tower on top. The cliff sensors are four small black rectangles on the bottom, one near each corner. The wall/edge sensor is on the right side near the front. The bumper is the physical front edge. MaxV, Saros, and Qrevo Curv models also have an AI camera on the front lip.
How do you clean Roborock sensors?
Power the robot off, then wipe each sensor with a dry microfiber cloth. For stubborn residue on cliff sensors (the four on the bottom), dampen the cloth with 70% isopropyl alcohol and let them air‑dry for 10 minutes before turning the robot back on. Never use water, paper towels, or glass cleaner.
Can you use alcohol to clean Roborock sensors?
Yes, but only 70% isopropyl alcohol, and only for cliff sensors and charging contacts with stubborn residue. Apply it to a microfiber cloth first — never pour directly on the robot. Avoid using alcohol on the LiDAR turret and AI camera, where dry cleaning is safer.
What causes cliff sensor errors on Roborock?
Three things trigger Error 4 most often: dust or mop residue on the cliff sensors, running on dark or shag carpet that absorbs IR light, and rough thresholds that reflect IR unevenly. Cleaning the sensors fixes the first cause, and moving the robot off problem surfaces handles the other two. Roborock's official support page lists sensor cleaning as the first fix.
How often should you clean Roborock sensors?
Cliff sensors every 1–2 weeks (twice a week if you have pets or mop daily). LiDAR and wall sensors every 2 weeks. Bumpers, charging contacts, and AI camera monthly. Skip any of these for more than a month and you'll start seeing the symptoms — incomplete maps, false cliff errors, or docking failures.